
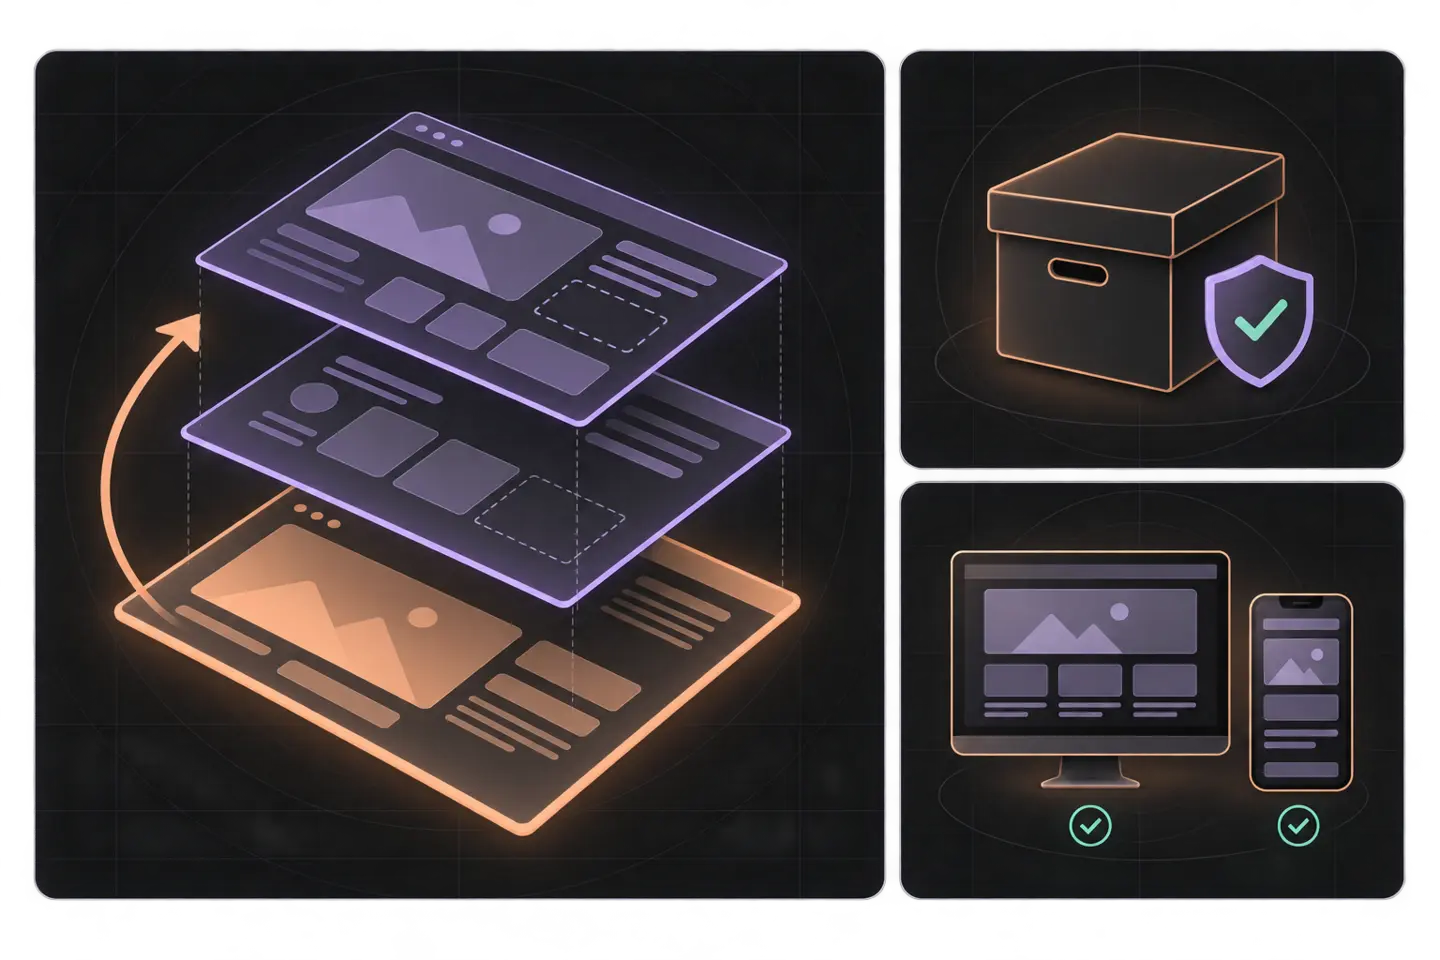
A theme update can replace edits made directly to its files. Changes stored in a child theme or WordPress settings may remain, yet look or work differently with the new version. Before updating, identify where each customisation lives, prepare a recovery point, and choose pages and tasks to test.
1. Map the customisations
Record the active theme and its version. If a child theme is active, record the parent version too. List the changes that matter to visitors: navigation, templates, typography, colours, forms, custom blocks, scripts, and added CSS. For each change, note where it lives and a page where you can see it.
- Parent theme files: Look for edits to templates, stylesheets, scripts, functions, or theme.json. If the history is unclear, compare installed files with a clean copy of the same version. An update may replace direct edits.
- Child theme files: List overridden templates, styles, and functions. WordPress's child theme handbook explains how these files remain separate from the parent. Check them after the update because a parent change may affect an override's output.
- Site Editor: For a block theme, inspect saved templates, template parts, styles, and navigation. WordPress stores user customisations in the database rather than the parent theme files.
- Customizer: Where available, record settings and Additional CSS. The WordPress Customizer documentation explains that controls vary by theme and may be absent for block themes.
- Plugins: Identify plugins that supply forms, content blocks, or display rules. Their files are separate from the theme, but their output still needs checking.
Pause if you cannot locate an important change. A screenshot records its appearance, but cannot tell you which file or setting produced it. Resolve that question before replacing theme files.
Pay particular attention to a child theme that copies a whole parent template. Its file can remain untouched by the update, which means the site may keep an older layout even when the parent ships a revised one. Note the template name and the pages that use it; check those pages against the updated parent before deciding whether to keep the override.
2. Make a usable recovery point
Back up the database and site files, including uploads, plugins, the child theme, and the current parent theme. Record when the backup finished, where it is stored, and the steps needed to restore it. Check that those files can be retrieved. WordPress recommends a backup before updating core in its core update guidance; a theme update also needs a recovery plan suited to the site.
For a block theme, export Site Editor changes as an additional record. The documented Export tool in the Site Editor downloads the theme with edited templates, template parts, and styles. Keep the export beside the inventory, but retain the full database and files backup for whole-site recovery.
Capture a small baseline before updating. Save the old and proposed theme versions, relevant release notes, and screenshots of representative pages at desktop and phone widths. Record where menus lead, what happens when a form is submitted, and how unusual templates behave. Save copies of any directly edited parent files so you can compare the old and new versions.
Write the restore sequence down while the old version is still working. Identify who can access the backup and which parts you would restore if only a theme file fails. For a site that accepts new posts or form submissions, note the time of the backup: a later database restore needs separate care to avoid losing those newer records.
3. Update a staging copy first
Use staging with current content and the same important customisations as the live site. Confirm you can restore it, then update the parent theme. Clear relevant caches and review update errors. Avoid bundling unrelated plugin or WordPress updates into the same test where practical; separate changes are easier to diagnose.
Open pages with real content, including long headings, nested menus, varied images, custom blocks, and unusual templates. Check narrow and wide widths for clipped navigation, overlapping text, unexpected spacing, missing template parts, and controls that cannot be used. Compare each page with the baseline, then follow its links and try its main task.
Test behaviour as well as appearance. Use a keyboard to reach menus, buttons, and fields; check focus visibility and reading order. Submit a form through a safe staging test path and inspect its confirmation. If staging cannot safely test an external action, mark it untested and plan a controlled check on the live site after the update.
If a page fails, compare its active template and any child override with the prior version before changing multiple settings. Record the smallest change that resolves the failure, then repeat the same route check. Keep a separate list of limits in the staging copy, such as unavailable external services, so an untested task is not mistaken for a passing one.
4. Check what persisted and what changed
A saved customisation is not proof that the result still works. After the parent update, check each layer against the inventory:
- Direct parent edits: Compare the old file with the updated one. Reapply only changes still needed, preferably in a location that a later parent update will not replace.
- Child theme: Confirm that overridden templates and functions still produce the intended output. An old template can remain in place while its parent changes around it.
- Site Editor: Open pages using saved templates and styles. Check whether an override still gives the intended result.
- Customizer: Check the rendered page as well as the stored value. A setting or CSS selector can remain while the updated theme responds differently.
- Plugins: Test their visible output where it meets the theme, especially forms and custom layouts.
Use actual page addresses for this comparison. Mark each route pass, fail, or untested, and note the viewport used. Include one example of each distinct layout or visitor task rather than every page built from the same template.
5. Run a route-based smoke check
- Home: Check the header, navigation, featured sections, primary action, and footer.
- Standard page: Read headings, lists, links, and sidebars; try a long title.
- Single post: Check text, images, captions, and post navigation for gaps or overflow.
- Archive and search: Try cards, pagination, and an empty result.
- Form page: Check labels, required-field messages, submission, and confirmation.
- Custom template: Check a page using each important child-theme or Site Editor override.
- Not-found page: Follow its route back into the site.
Repeat the most important routes on a phone-sized viewport and with a keyboard. Check a shared header or footer on more than the home page if different templates render it. Keep a note of failures, including the page, width, expected result, and observed result; this makes a repair or rollback decision easier.
6. Set a rollback threshold before release
Treat a missing main menu, broken form, unreadable mobile page, inaccessible navigation, fatal error, or missing required template as a reason to stop. Fix and retest a failure on staging before production. A small spacing difference can be repaired later if it does not obstruct the page's purpose.
If production fails, use the prepared recovery method and retest the affected routes. Reinstalling an old theme package may not restore database-stored templates, settings, or plugin data. Restoring an old database over a live site can also discard content or submissions made since the backup. Choose the smallest recovery action that restores the site, accounting for those later changes.
Once staging passes, update production when someone can check the same routes and respond to a failure. Record the installed version and the results of the live checks. The update is finished when the customised pages and visitor tasks work on the running site.